Team Setup (For Coaches)
This guide walks you through everything you need to do as a coach: creating your team, inviting athletes, writing notes, and deploying plans.
1. Getting the Coach Role
Coaching is in preview, so the Coach role is enabled on request instead of being something you switch on yourself. Write to [email protected] or message @planwatts on Telegram, tell me how many athletes you coach and in which sports, and I enable it on your account. Once enabled, you'll see a new Coach Dashboard tab in the app.
While coaching is in preview it costs you nothing, and your athletes never pay: they join on the free tier.
Important: The Coach role is separate from the regular athlete account. You can still use PlanWatts for your own training — coaching features are an addition, not a replacement.
2. Creating a Team
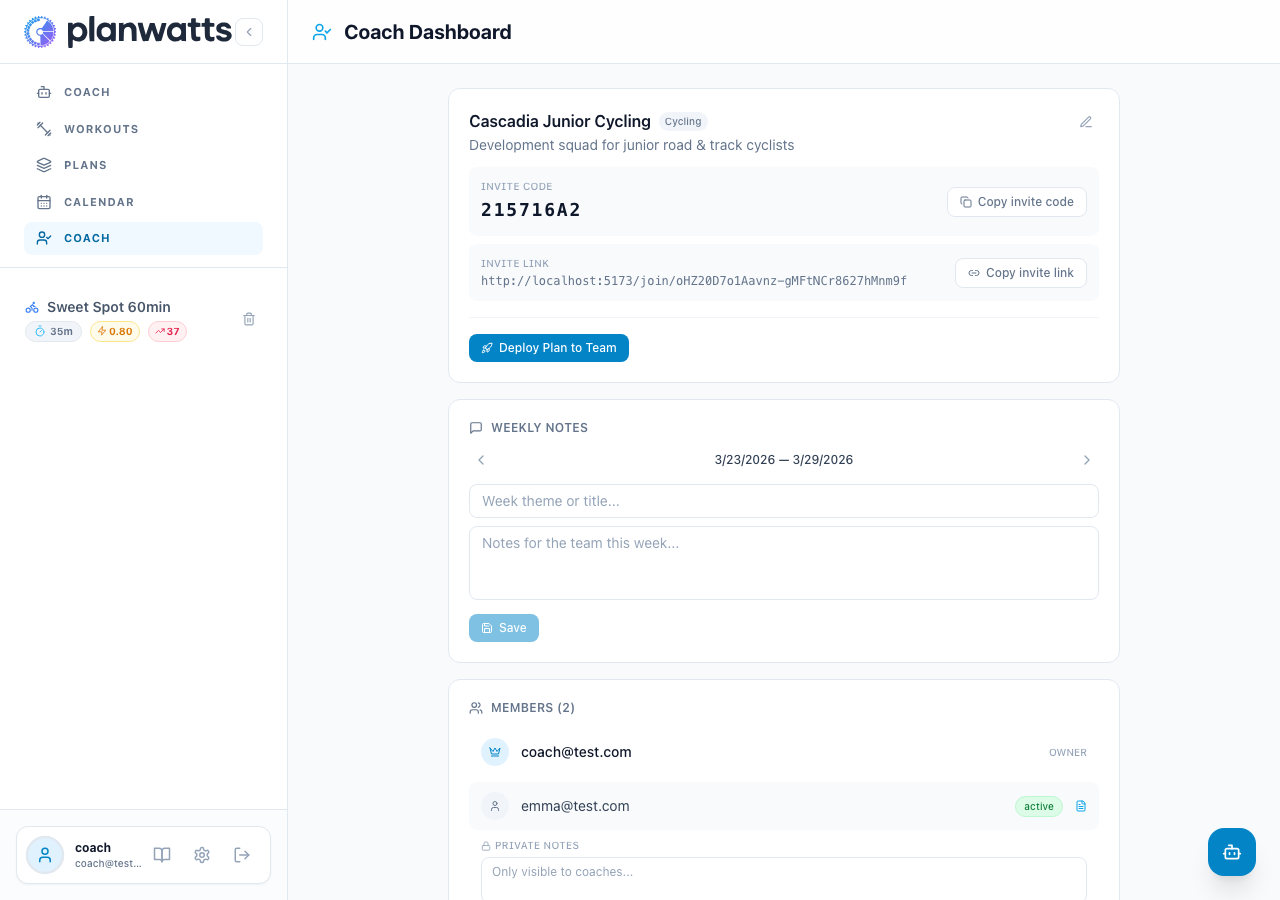
When you first open the Coach Dashboard, you'll see the team creation form. Pick a team name and a primary sport.
That's all it takes. Once created, your dashboard becomes the control center for your team.
AI roster insights: Once you have athletes, the same dashboard reads their week for you and flags who needs attention. See Coach Tier Overview for how the summary, chat, and approval flow work.
3. Invite Code & Link
Every team gets a unique invite code and a shareable link. Send either to your athletes — they can join from their Settings page.
Tip: The invite link is the fastest way to onboard athletes. Send it in a group chat and they're in within a minute.
4. Reviewing Join Requests
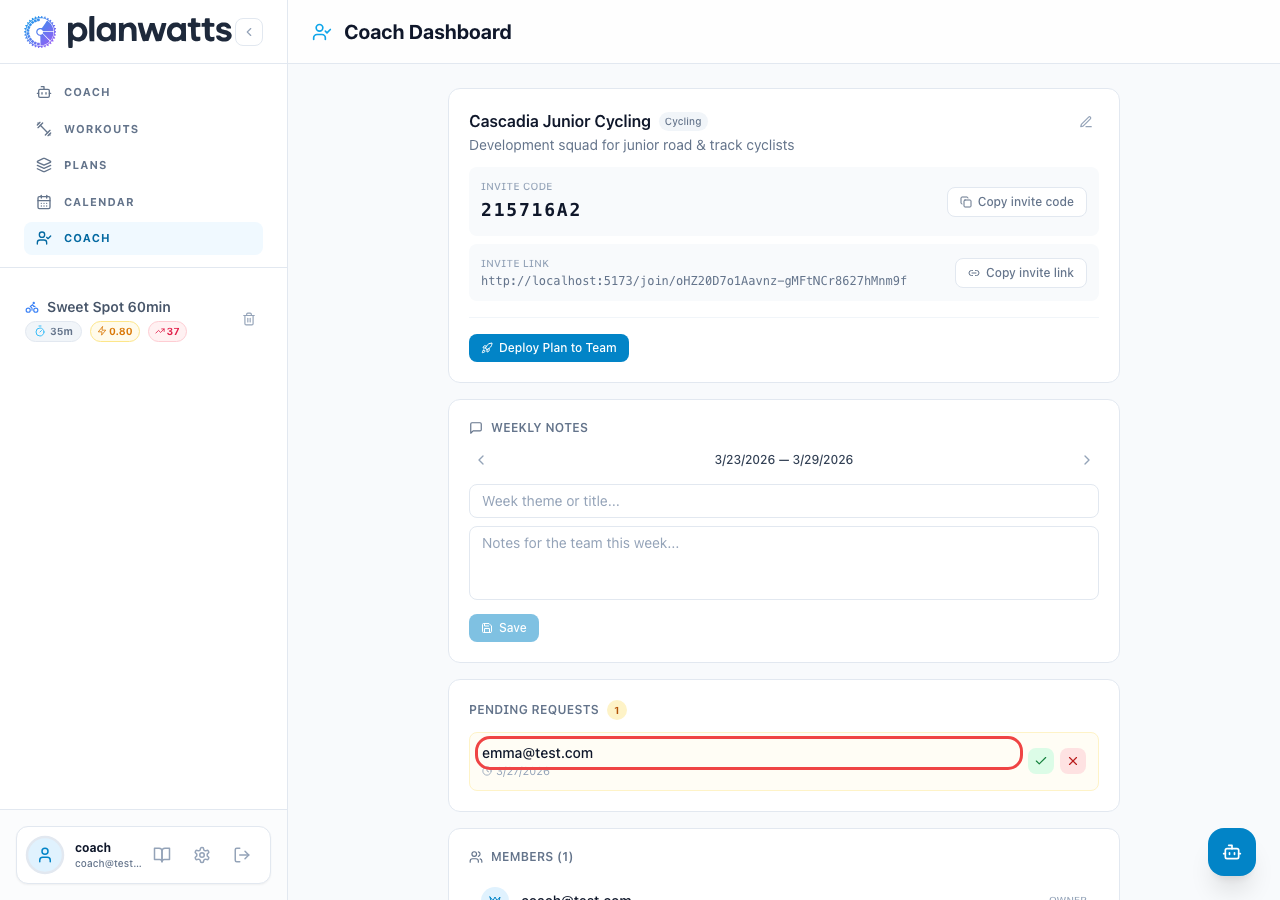
When athletes use your code or link, they show up as pending requests. You approve or reject each one — no one gets in without your say-so.
5. Weekly Notes
You can write weekly notes that go out to the whole team. Use these for training focus, race reminders, motivation, or anything you'd normally put in a group email.
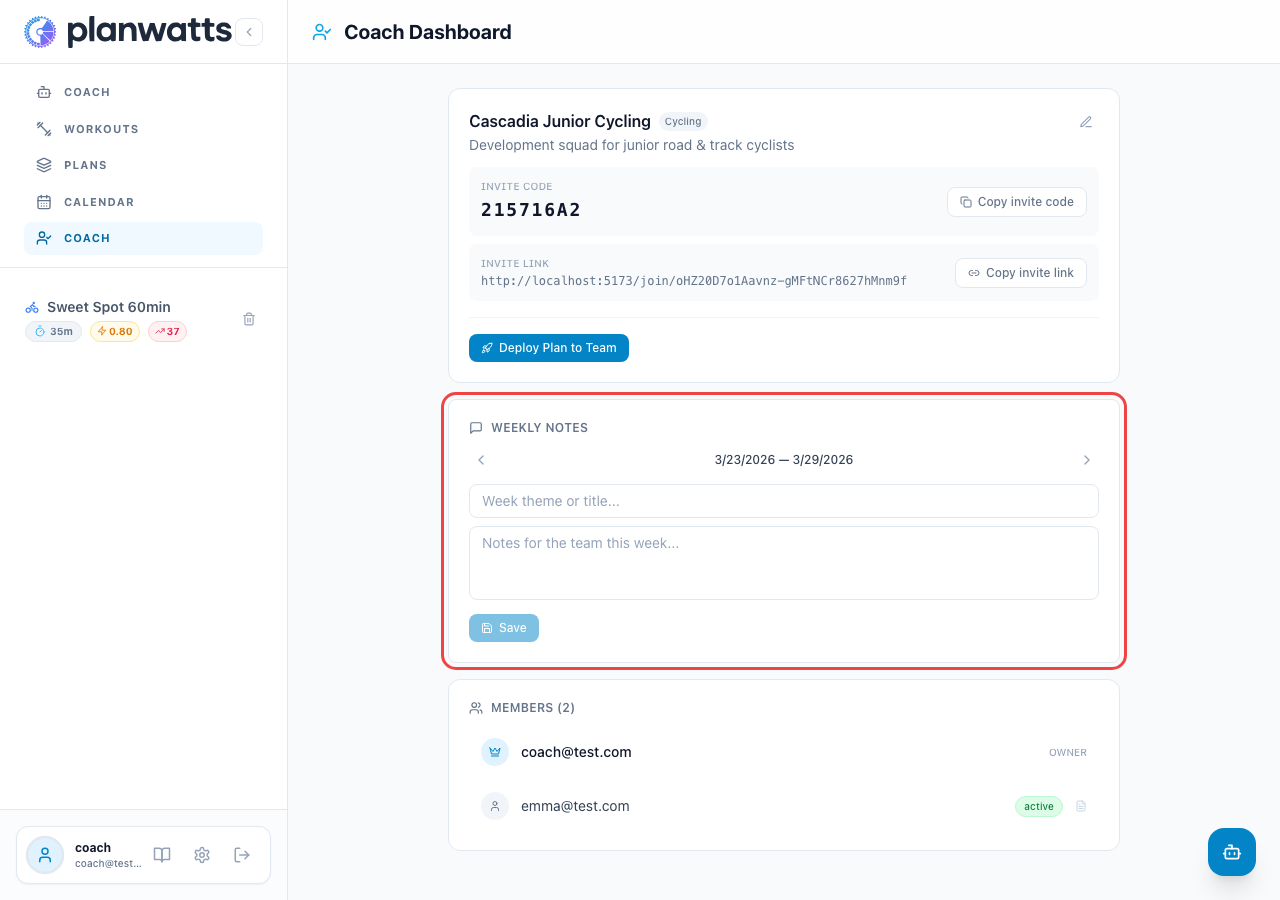
Athletes see your weekly notes directly in their calendar as a collapsible amber banner at the top of each week — both in month and week view.
6. Per-Athlete Notes
Beyond team-wide notes, you can write individual notes for each athlete. These come in two flavors:
- Private notes — only you can see them (your own coaching observations)
- Shared notes — visible to the athlete (feedback, instructions, encouragement)
Tip: Use private notes to track things like injury history, mental state, or race goals that you don't want the athlete to see in raw form. Use shared notes for actionable feedback.
Shared notes appear as a blue info bar above the athlete's calendar grid — always visible when they open their calendar.
7. Deploying a Plan
Create a plan using any PlanWatts tool (AI Coach, workout editor, plan builder), then deploy it to your team from the Coach Dashboard. Each athlete gets their own copy with workouts on their calendar, marked with a Coach badge.
After deploying, you can propagate changes to all copies and handle mid-season joins for new athletes.
Full guide: Deploying Plans to Your Team — step-by-step with screenshots
8. Coach Badge on Plans
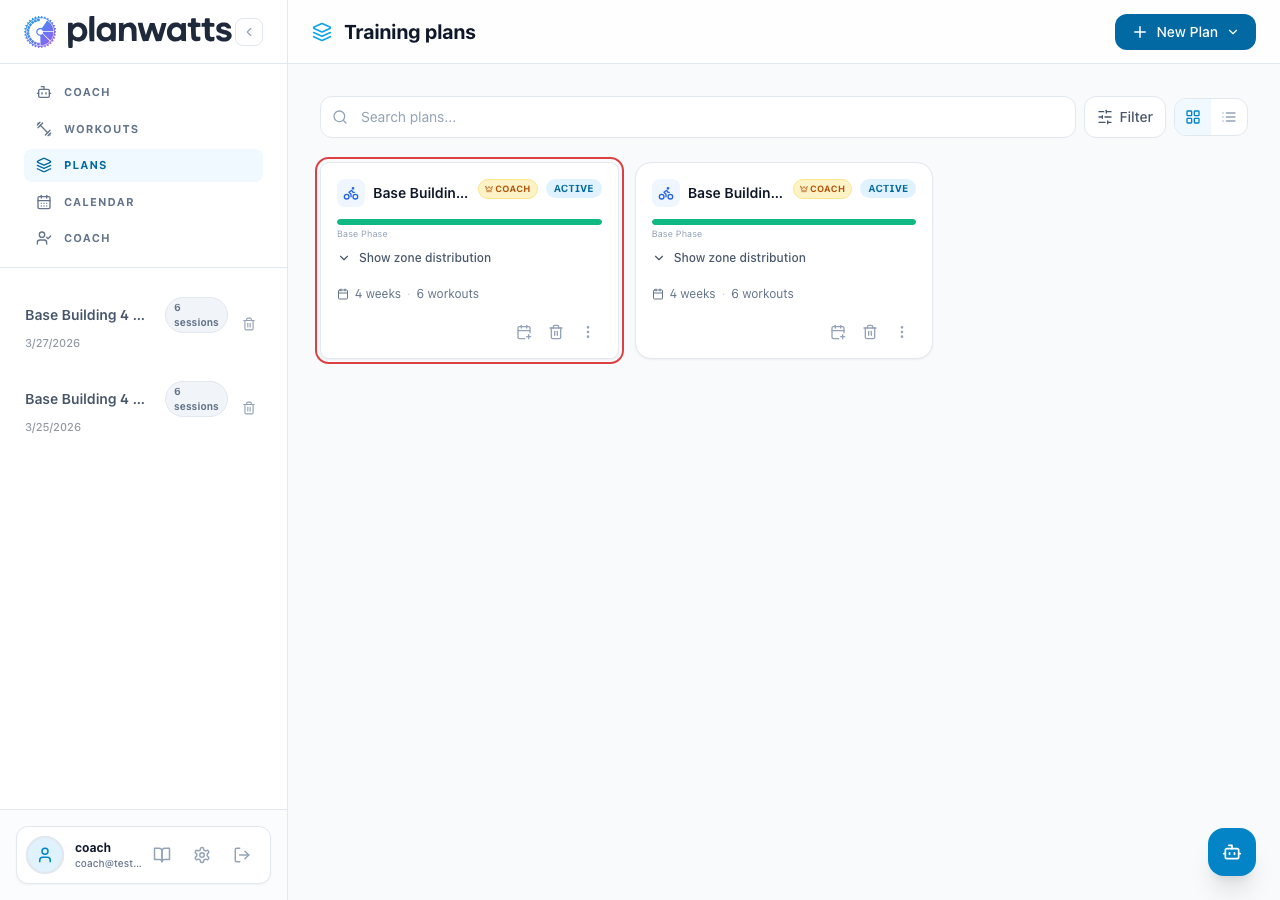
Your plans are clearly marked with a Coach badge in the plan list. This helps both you and your athletes distinguish coach-created plans from personal ones.
See Also
- Coach Tier Overview — What the Coach Tier is and how it works
- For Athletes — What your athletes see on their end